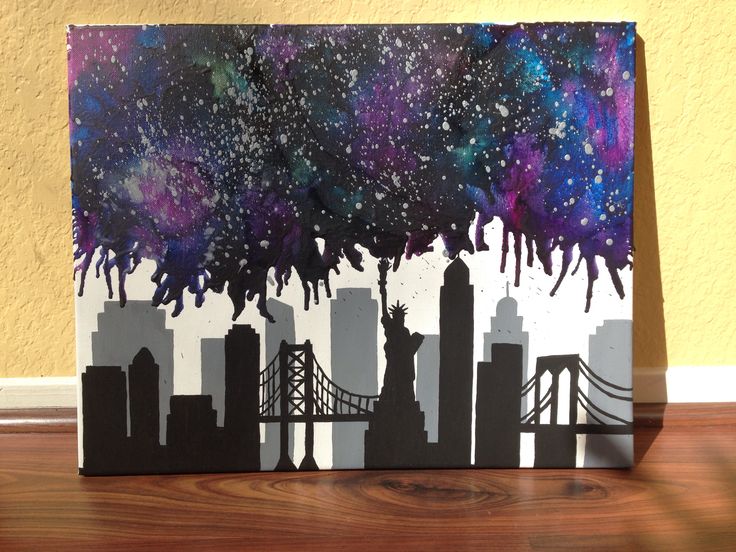
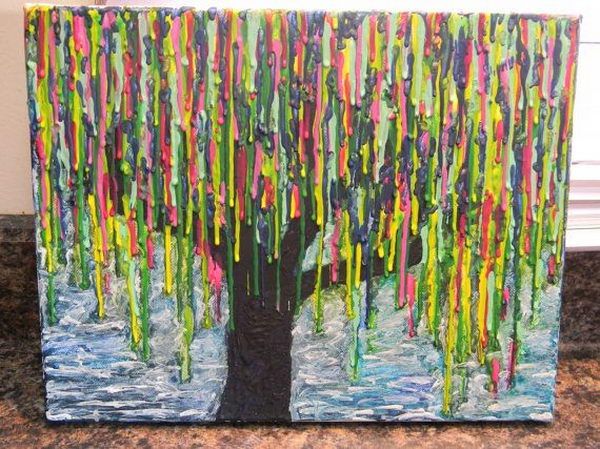
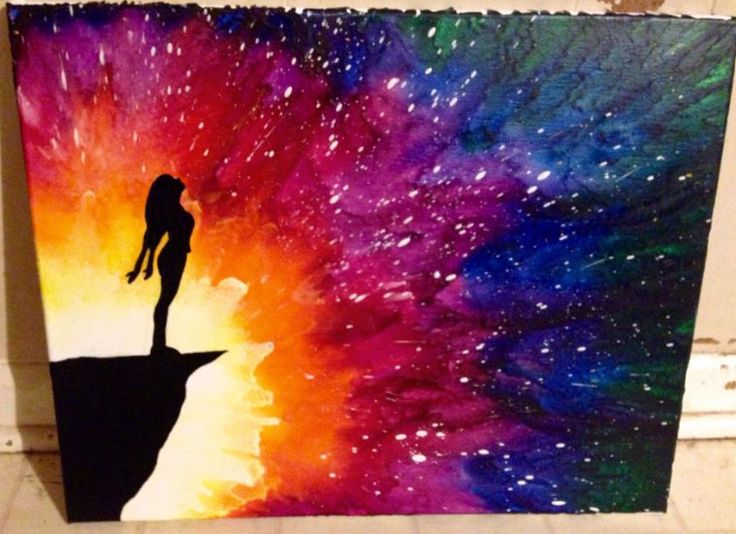
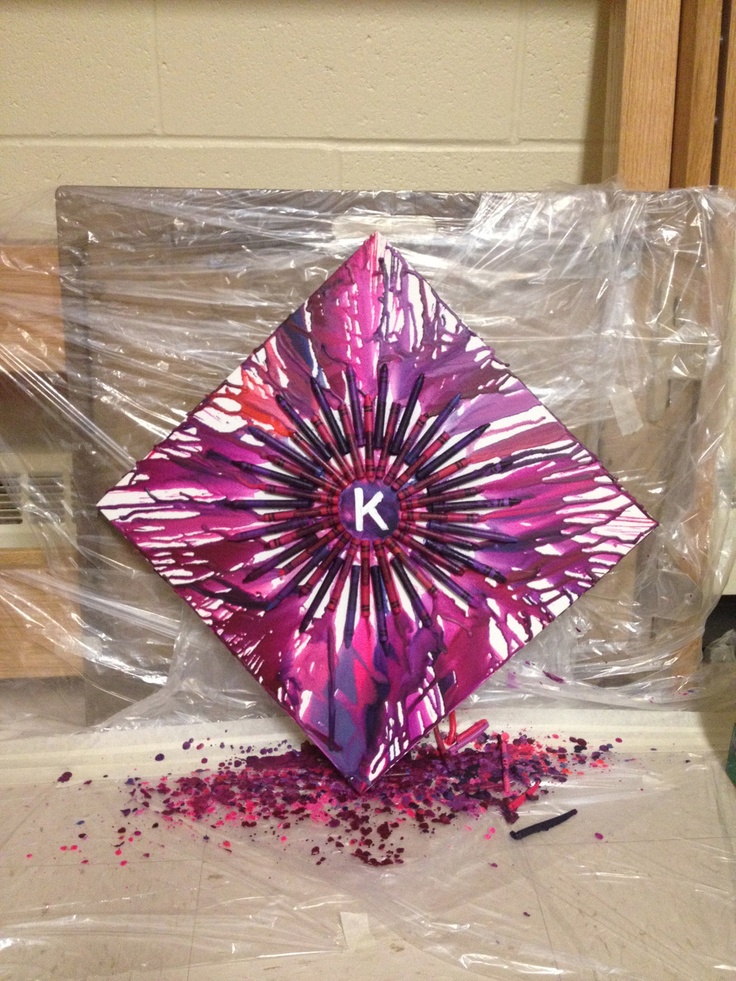
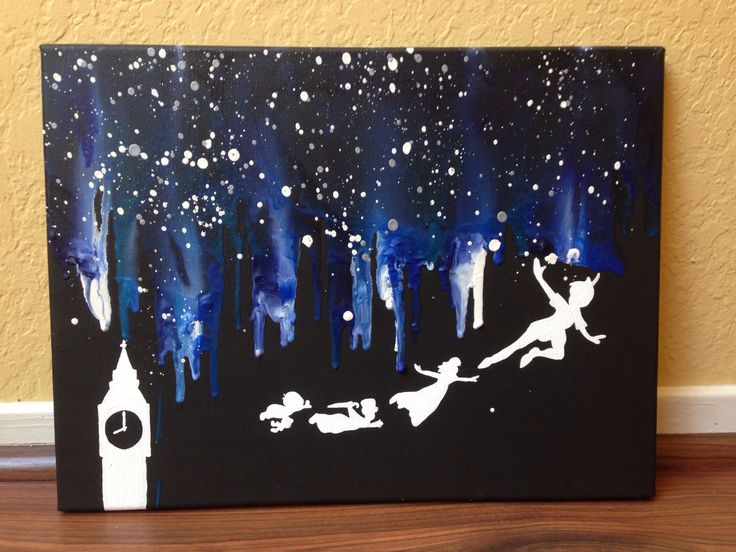
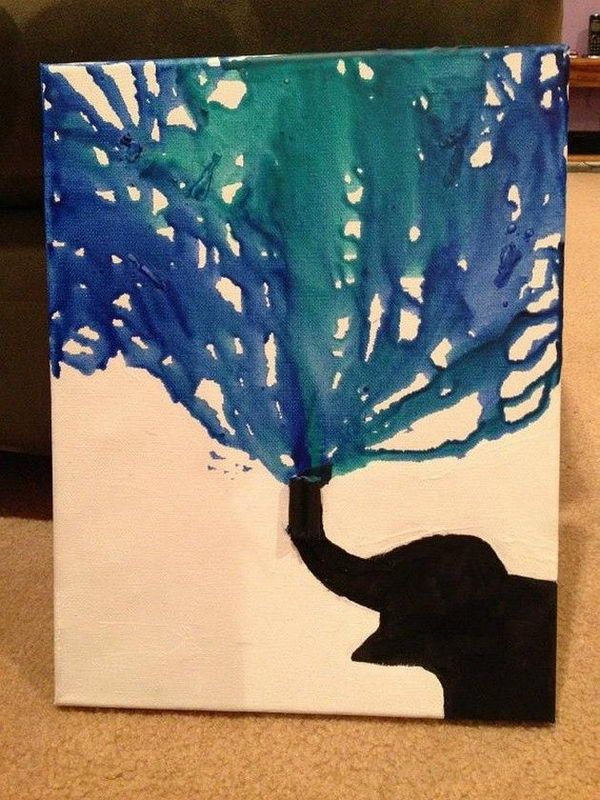
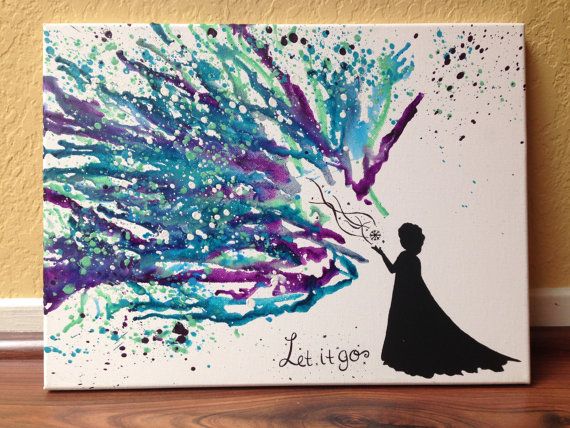
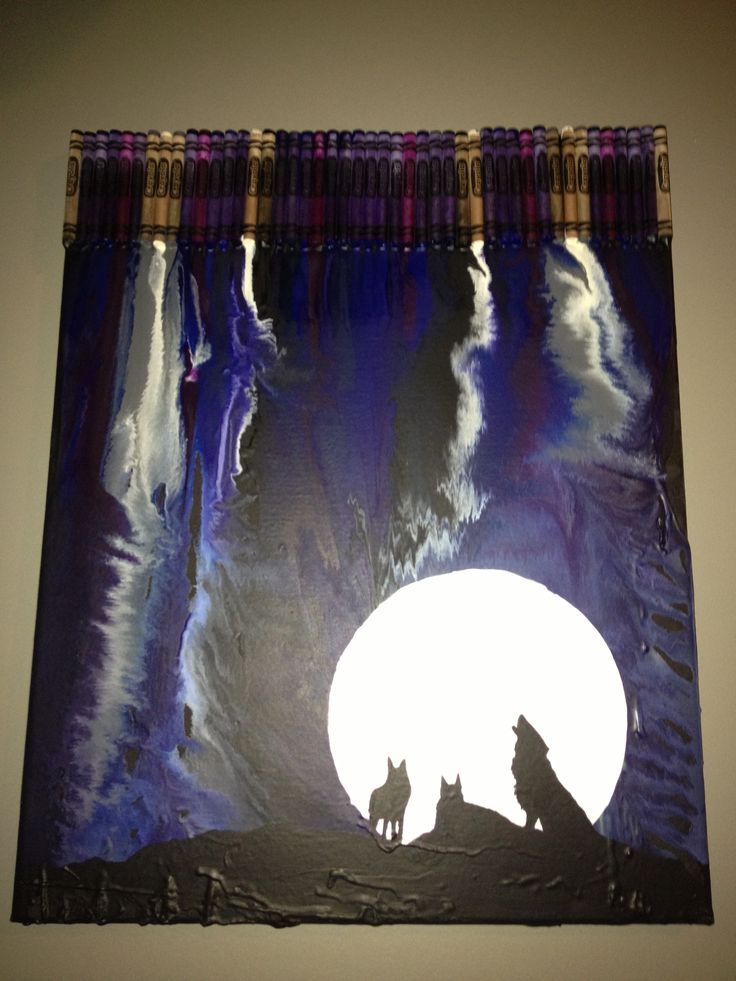
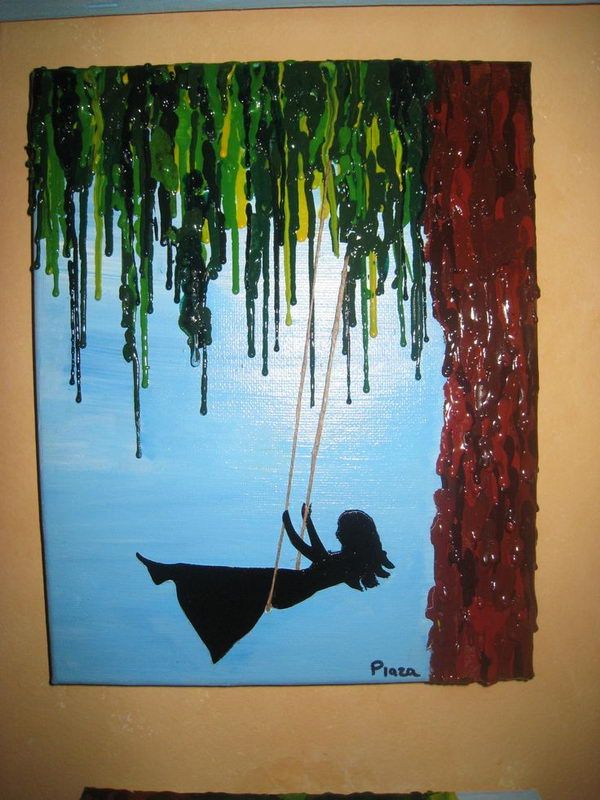
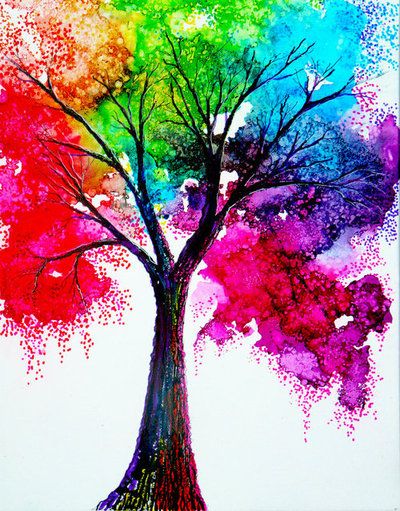
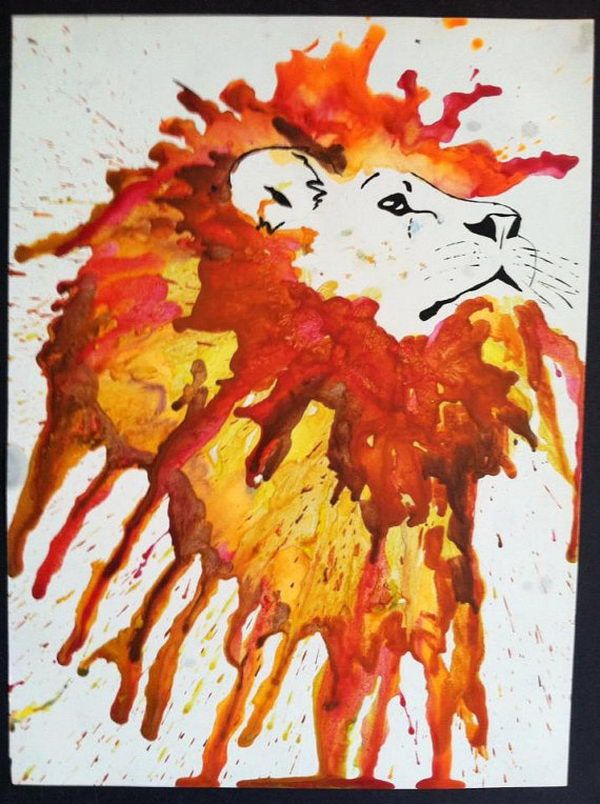
We are sure that you must have enjoyed playing around with crayons as a kid. There is a certain satisfaction to holding the waxy crayon in your hands to work on a piece of paper to give vent to your artistic creativity. However, since we are talking about art at a slightly grown up level, we are going to add another element to it – that of heat. Yes, we are talking of beautiful examples of melted crayon art that you can create by subjecting the crayon to a bit of heat. Some would liken this form of art to something like oil pastels though you will need to know more about this medium before making this comparison.
Before we proceed further, we would like to caution you that since a heating element is included in this form of art; you cannot consider this among the best art activities for pre-schoolers.
Here is a simple and easy to try out method that you can use to create melted crayon artwork:
You will need:
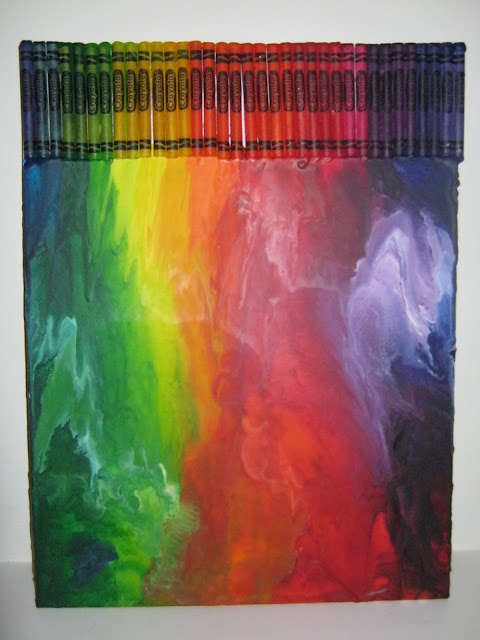
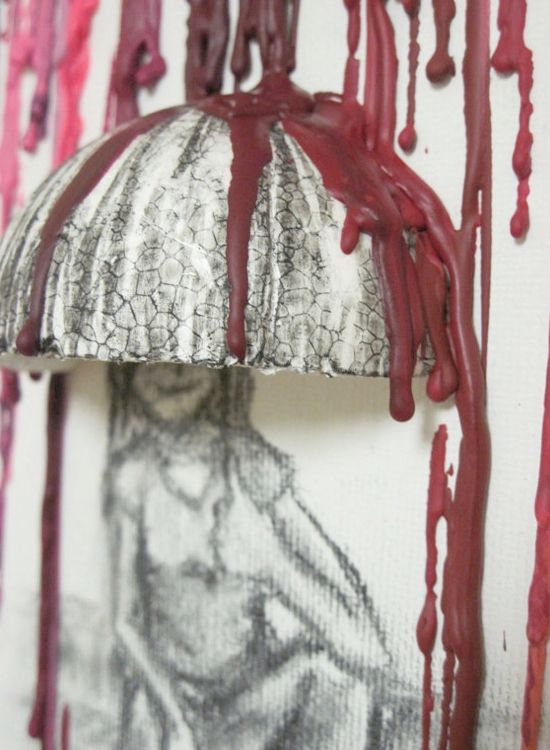
A surface to do the art on – either a paper or canvas or thick cloth or a glass surface.
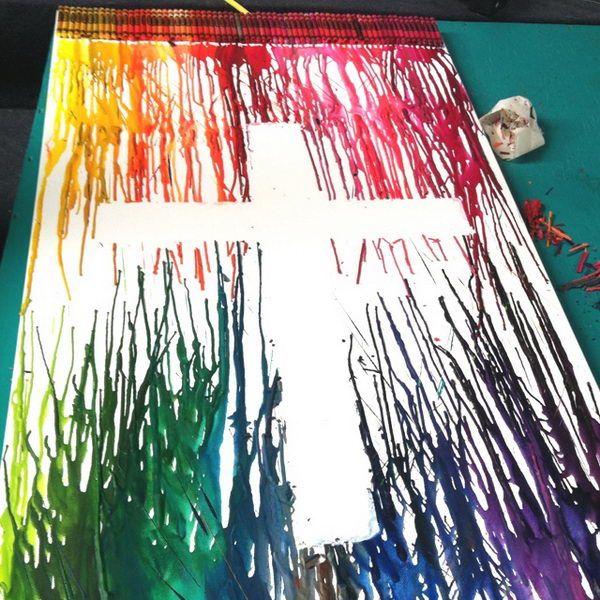
A bunch of crayons – do ensure that you unwrap the crayons so that it becomes easier when you get started on your work of art
Something to melt the crayons with – this could be either a hair dryer or a hot lamp or some other such device
Plenty of newspapers – this is to minimize the mess that will come about when you do your artwork
Assorted tissues and rags – this is also essential to make sure that the mess that ensues when you try this type of art,
How to do it:
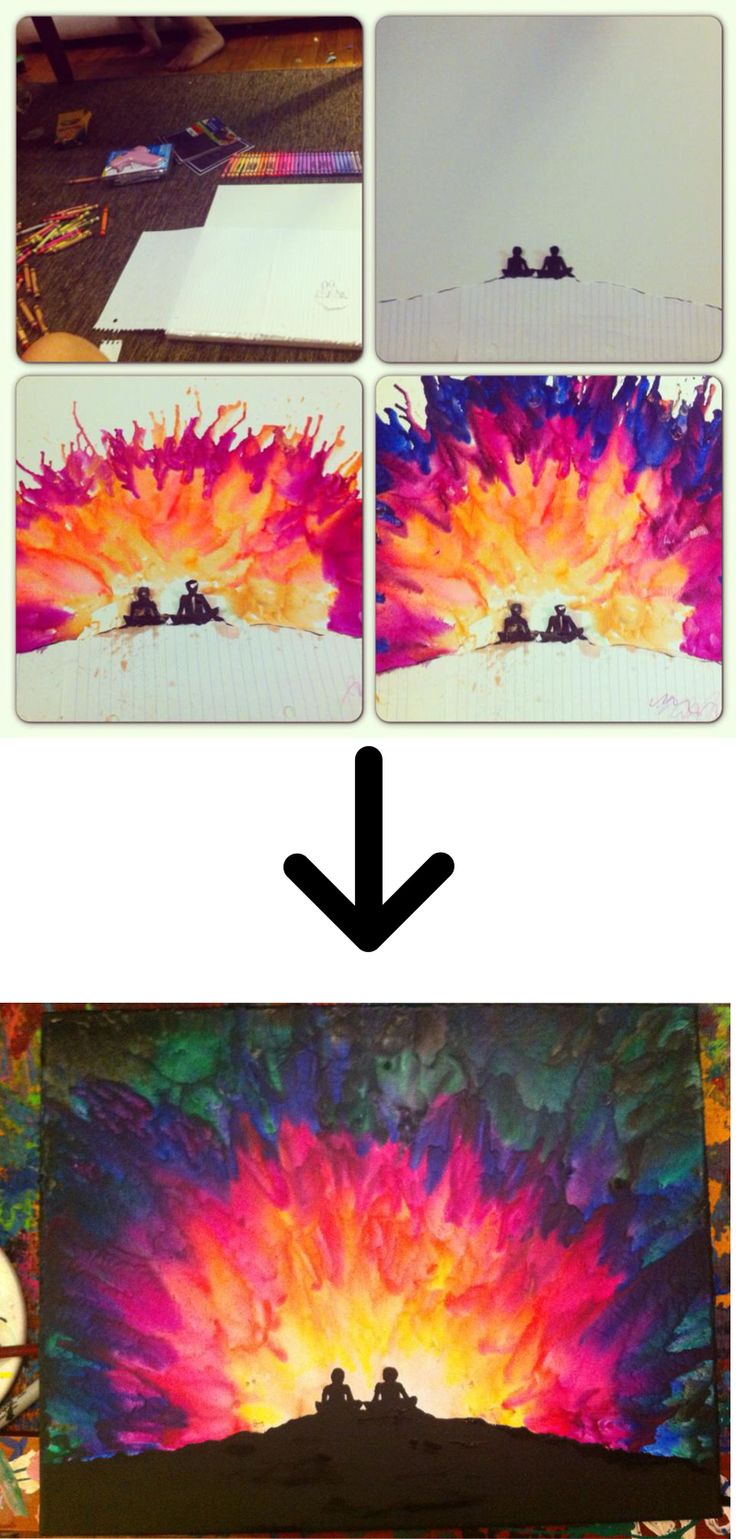
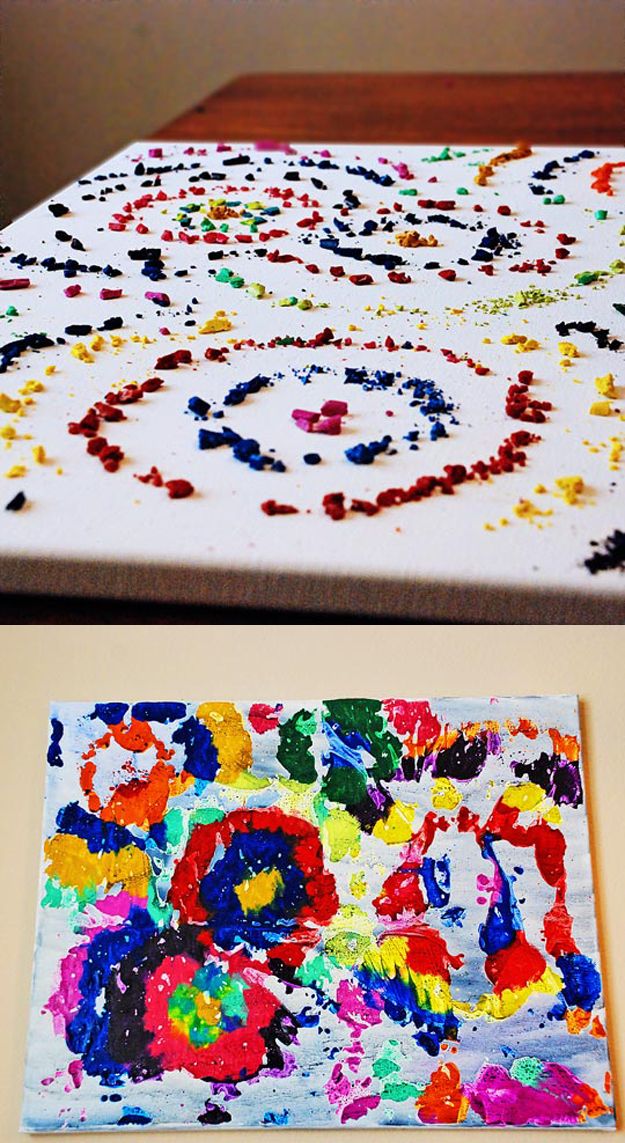
The first thing is to touch upon the creative well within and image what the final result of your efforts is going to be like. This part will enable you to carry out the rest of the steps. You would be surprised at how many nuances and angles you will come up with when you do this.
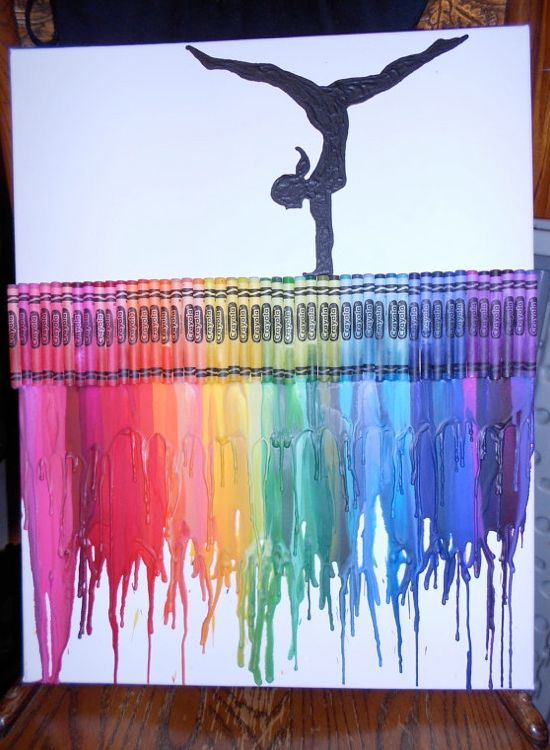
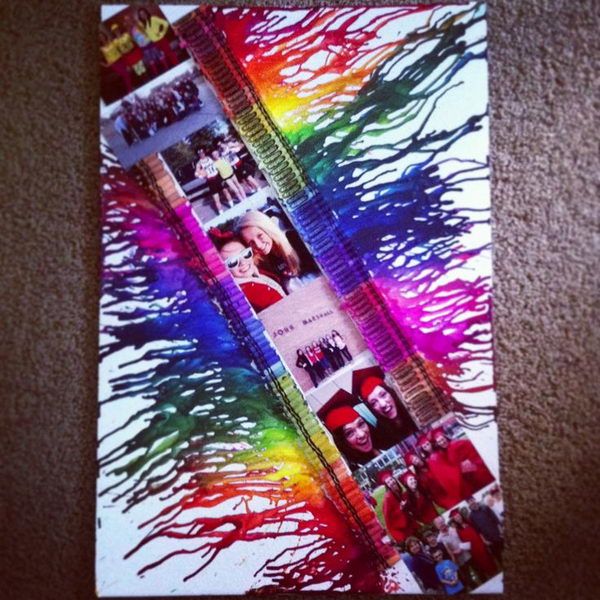
Then spread out the surface that you are going to use to create a work of art. Then lay out the crayons in the order of colors and patterns that you want the work of art to turn out to be. This could take a while considering that you have to unwrap the crayons and arrange them in interesting angles and arrangements.
Then use the device you have for heating to gently and slowly make the crayons melt and soften. This will soon cause the colors to run to form your art work. You need to proceed with caution because if you go too fast, then the results may be a bit distorted. And going too slow may delay the melting process.
Wait for the crayons to cool down and then proceed to frame the work of art in the way you want it to.
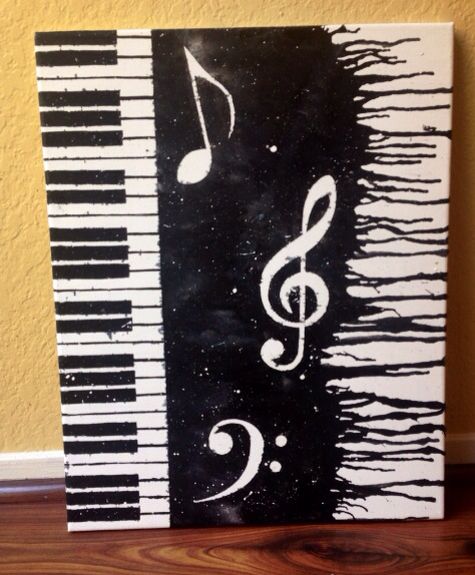
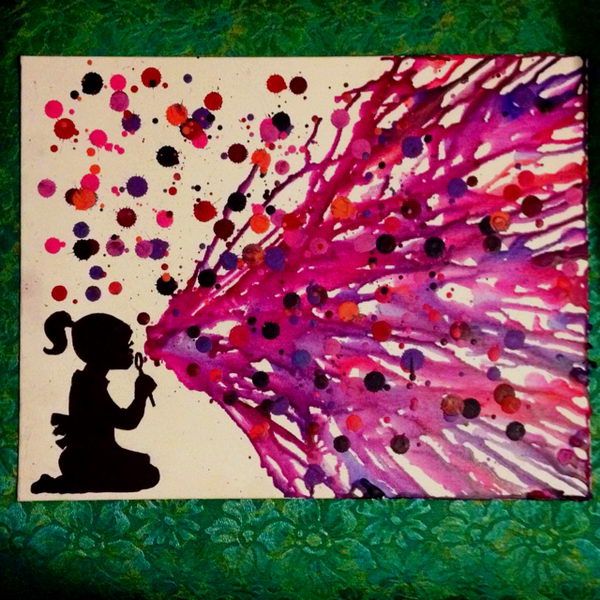
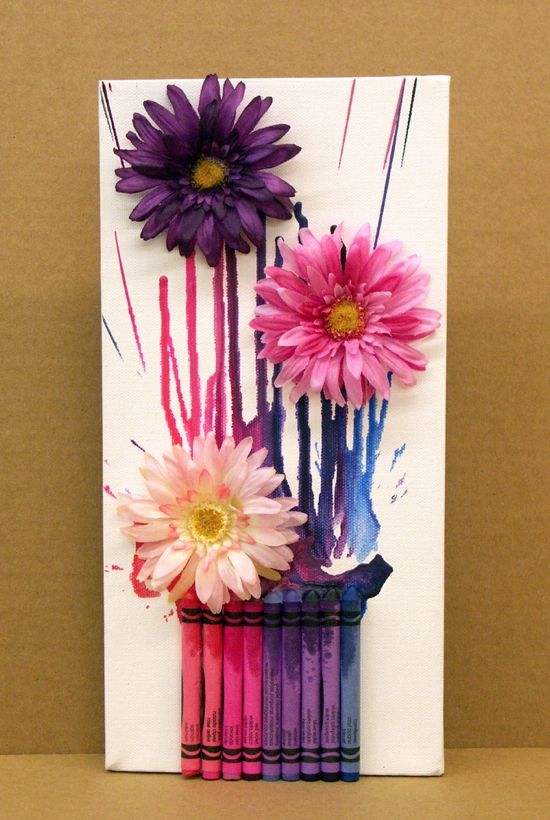
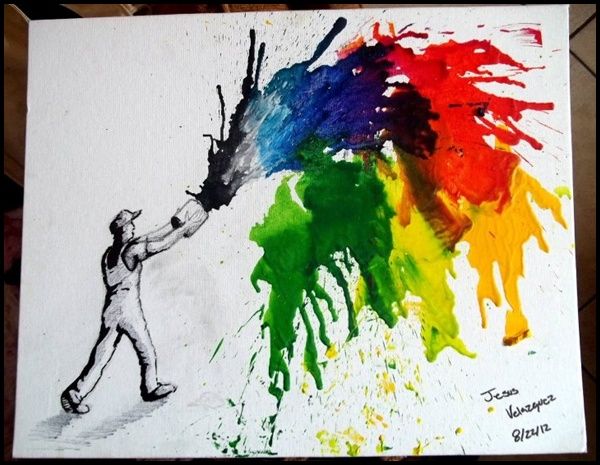
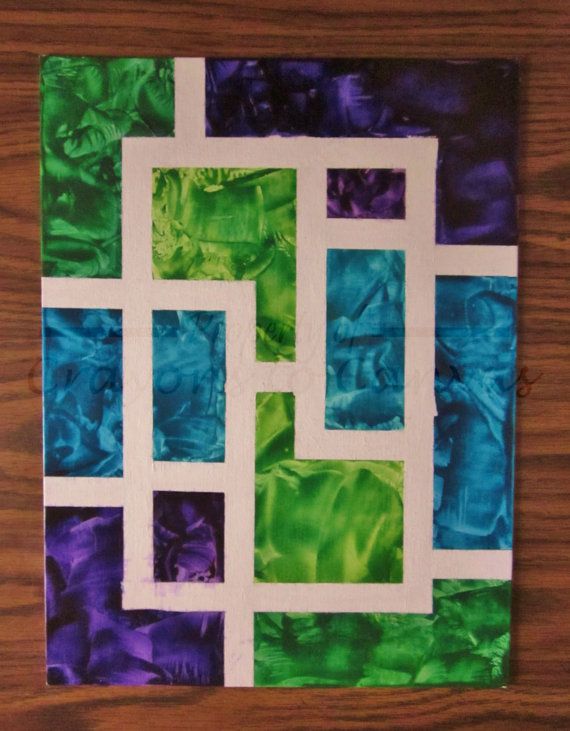
The above steps we have described relates to more of a freehand kind of art. In case you want to go with something more structured, then you can individually melt the crayon of the color of your choice and apply them to the surface. However, do take care to do this at a correct pace so that you get the desired results. This can take a lot of skill and patience but the results will be worth it as the end result will have textures as well as depths that will add to the artwork.

What do you think of melted crayon art? Do have any ideas that you want to share with us?
")