People like to give many things as gifts to their friends and when the gift they give is something that they made themselves, then it becomes that much more special. The fact is that art of bracelet making even though it looks as if it is complex can be easy enough once you get the hang of it. In fact, DIY jewelry will let you learn to fulfil what you crave even as you save a lot. The best part about making friendship bracelets with numbers is that it can be very pretty and special not to mention very meaningful to the giver and the receiver of the gift. That is why you will want to make bracelets using string so that you can add numbers to them too.

Those who know about the art of macramé and how it can be used around the home will tell you that once you learn the basics of doing this, then such crafts can be fairly addictive.

Here Are Some Tips And Options When You Start To Make Friendship Bracelets With Numbers:
Take the easy route: The thing is if you are in a hurry to gift someone special with a bracelet that has numbers that mean a lot to both of you, then you can always buy plain beads, numbered beads and also elastic string to put together a nice little bracelet. While this may not be special as making the whole bracelet with string, it will do in a pinch.


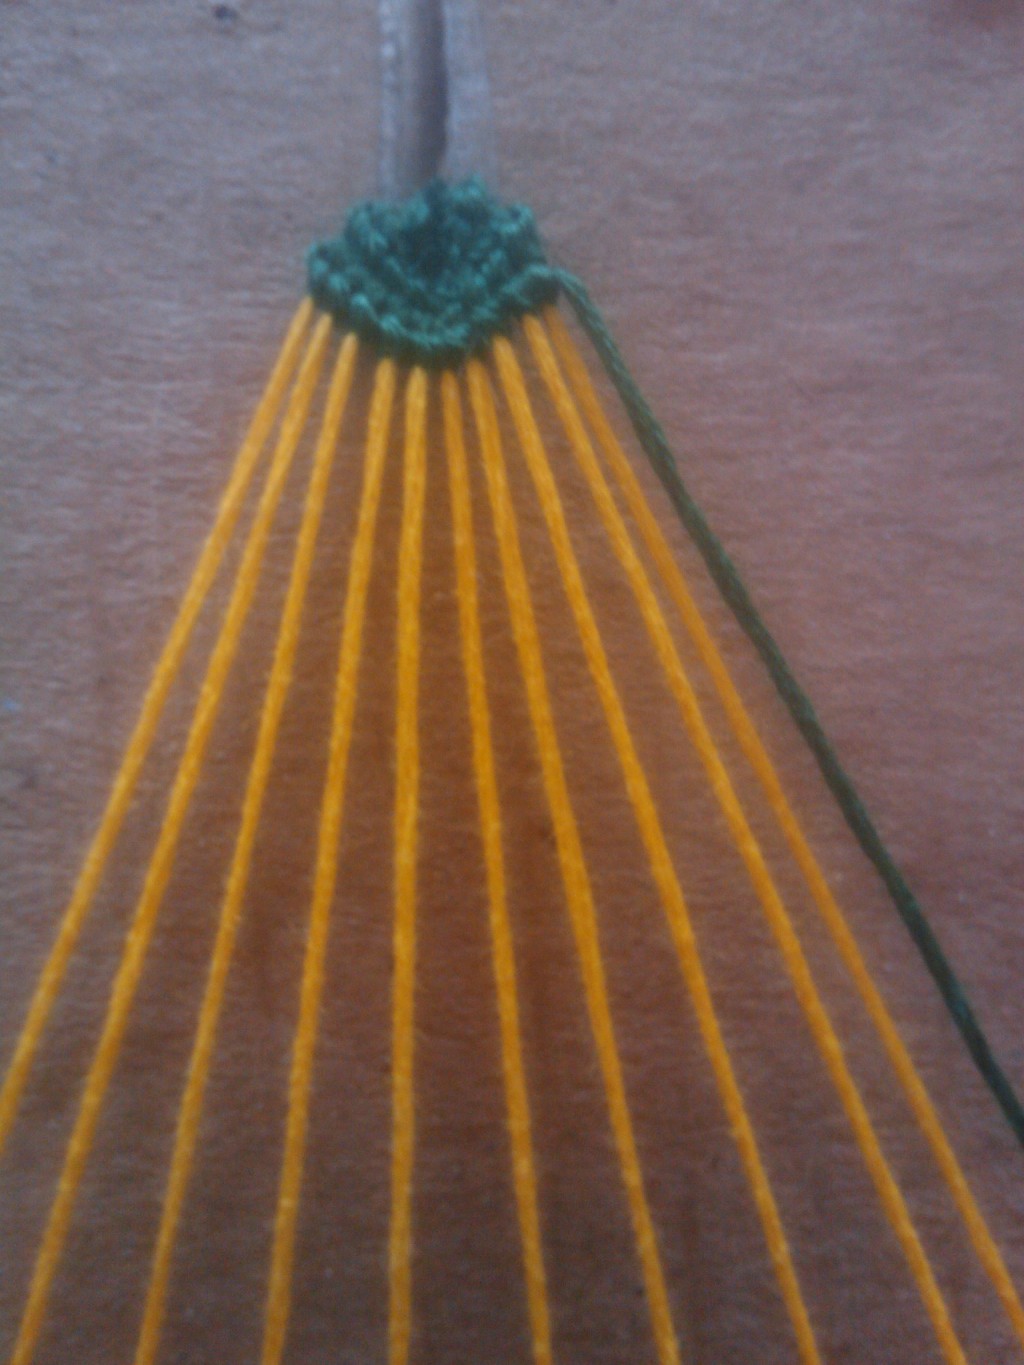
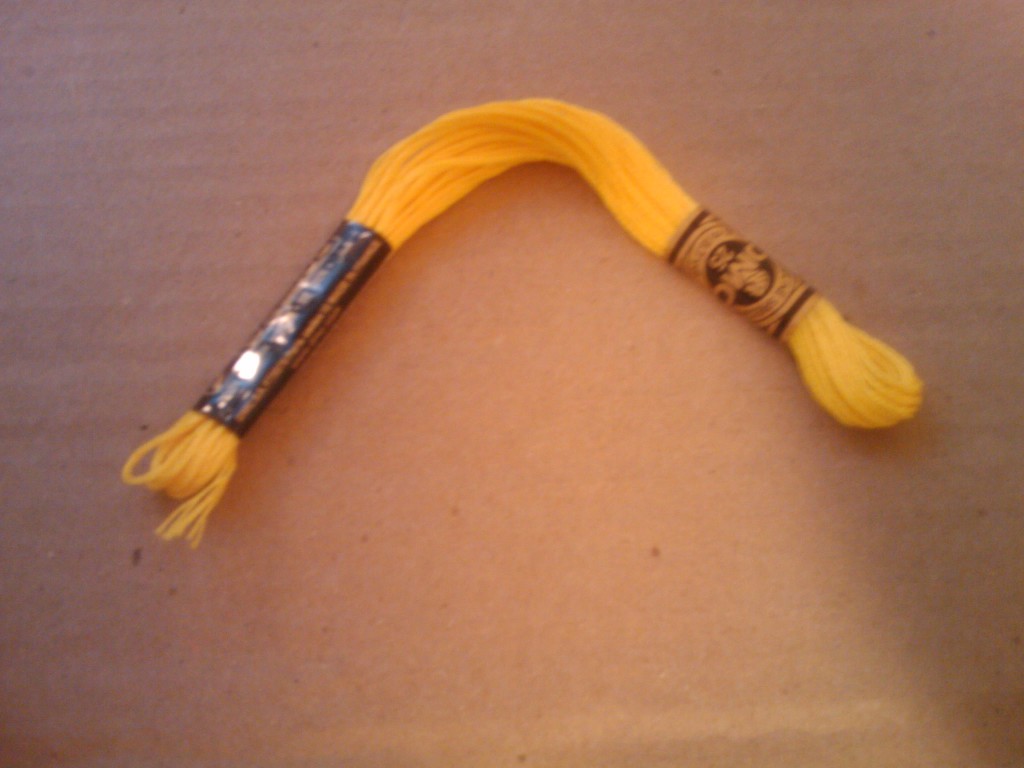
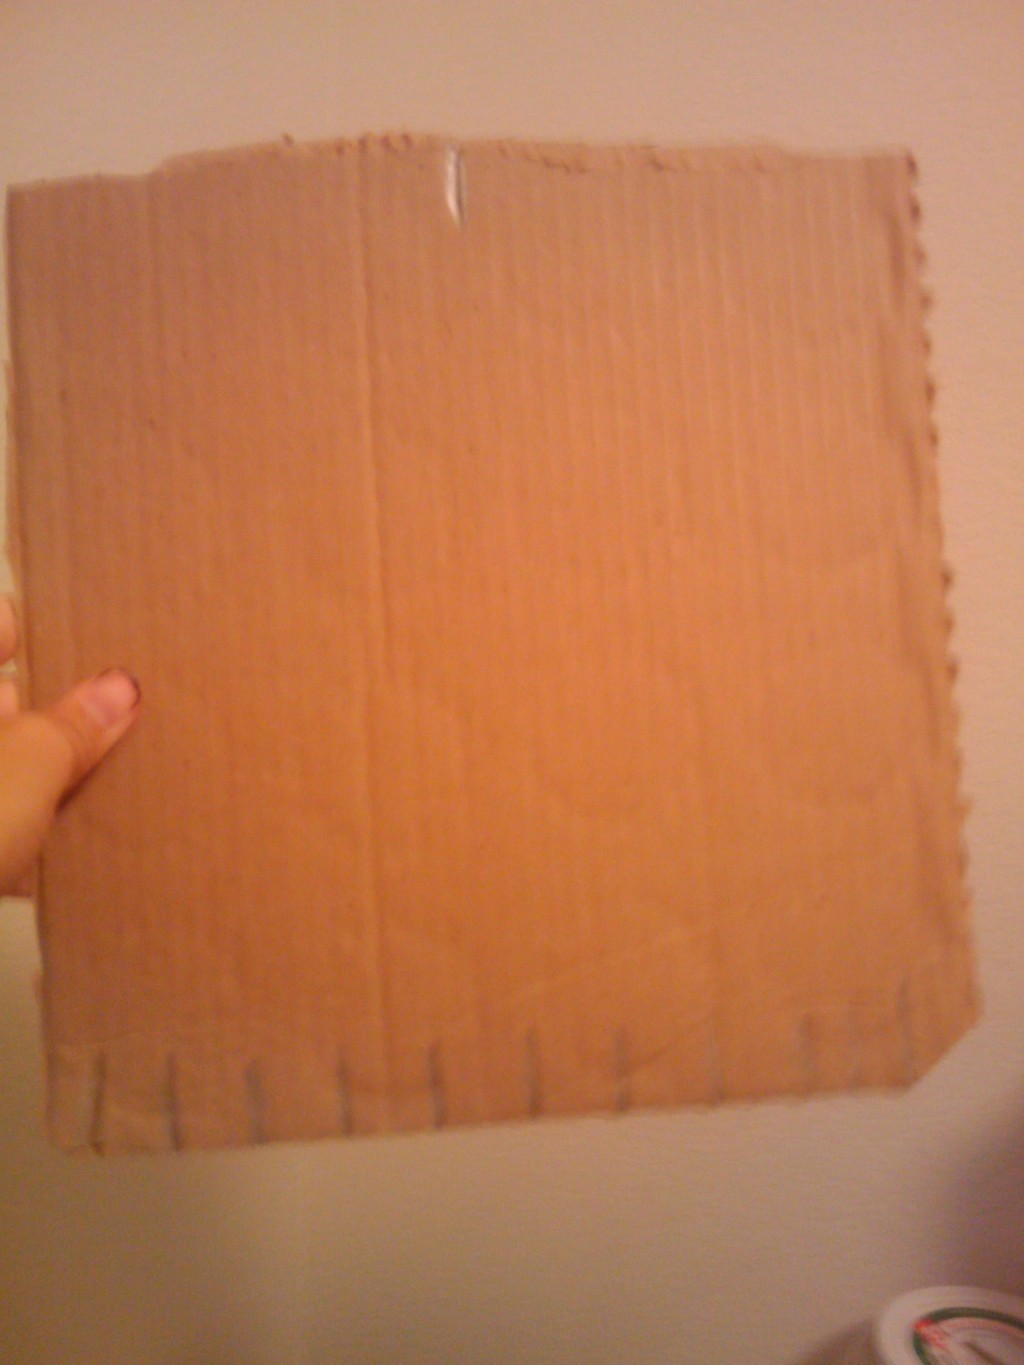
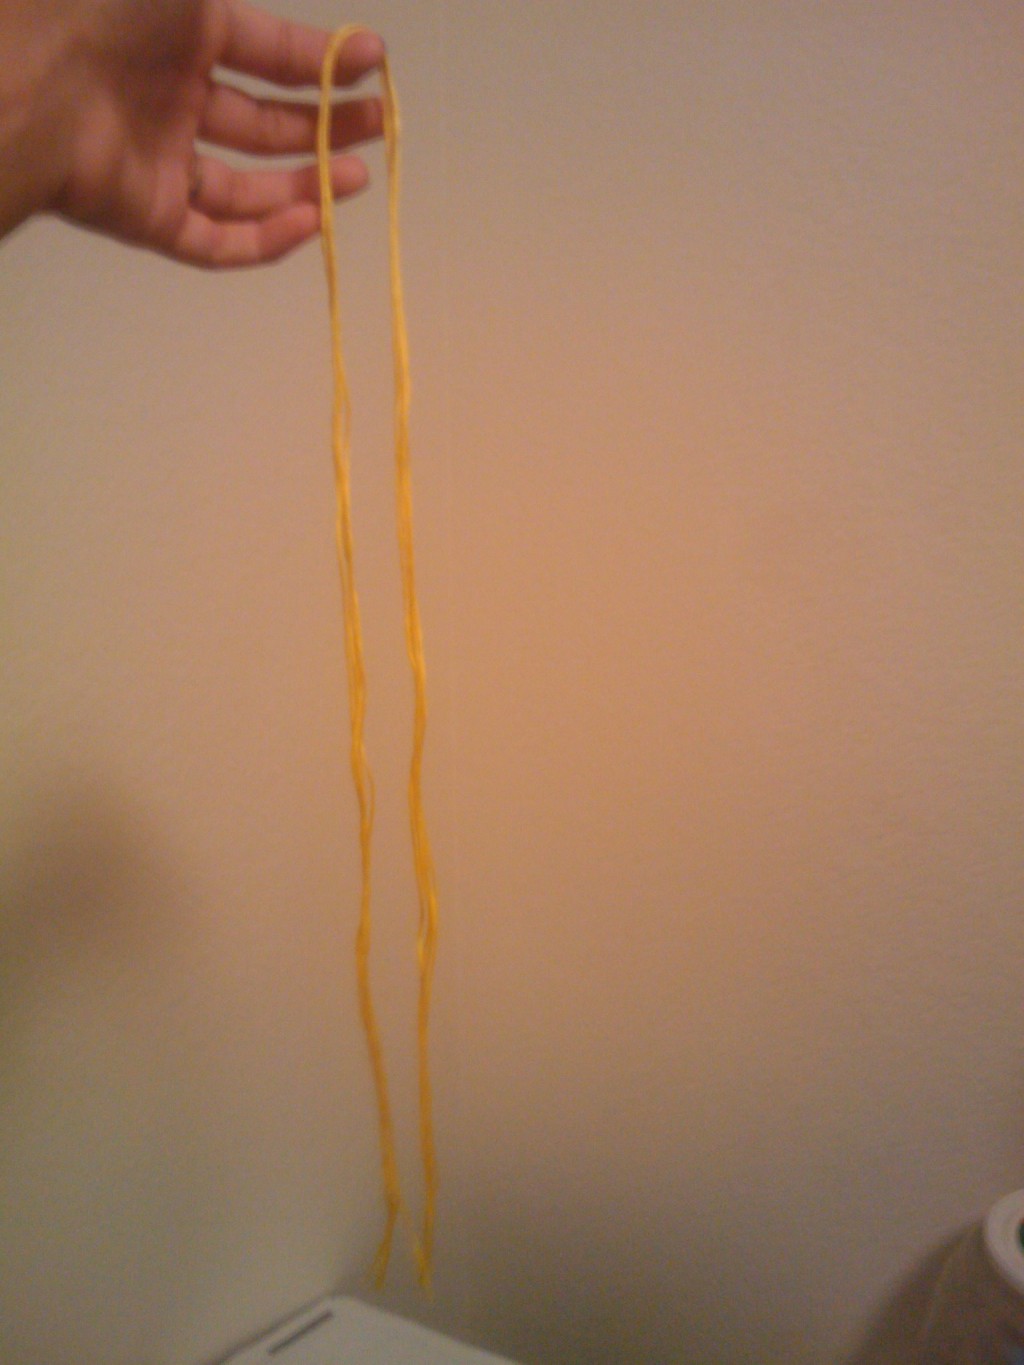
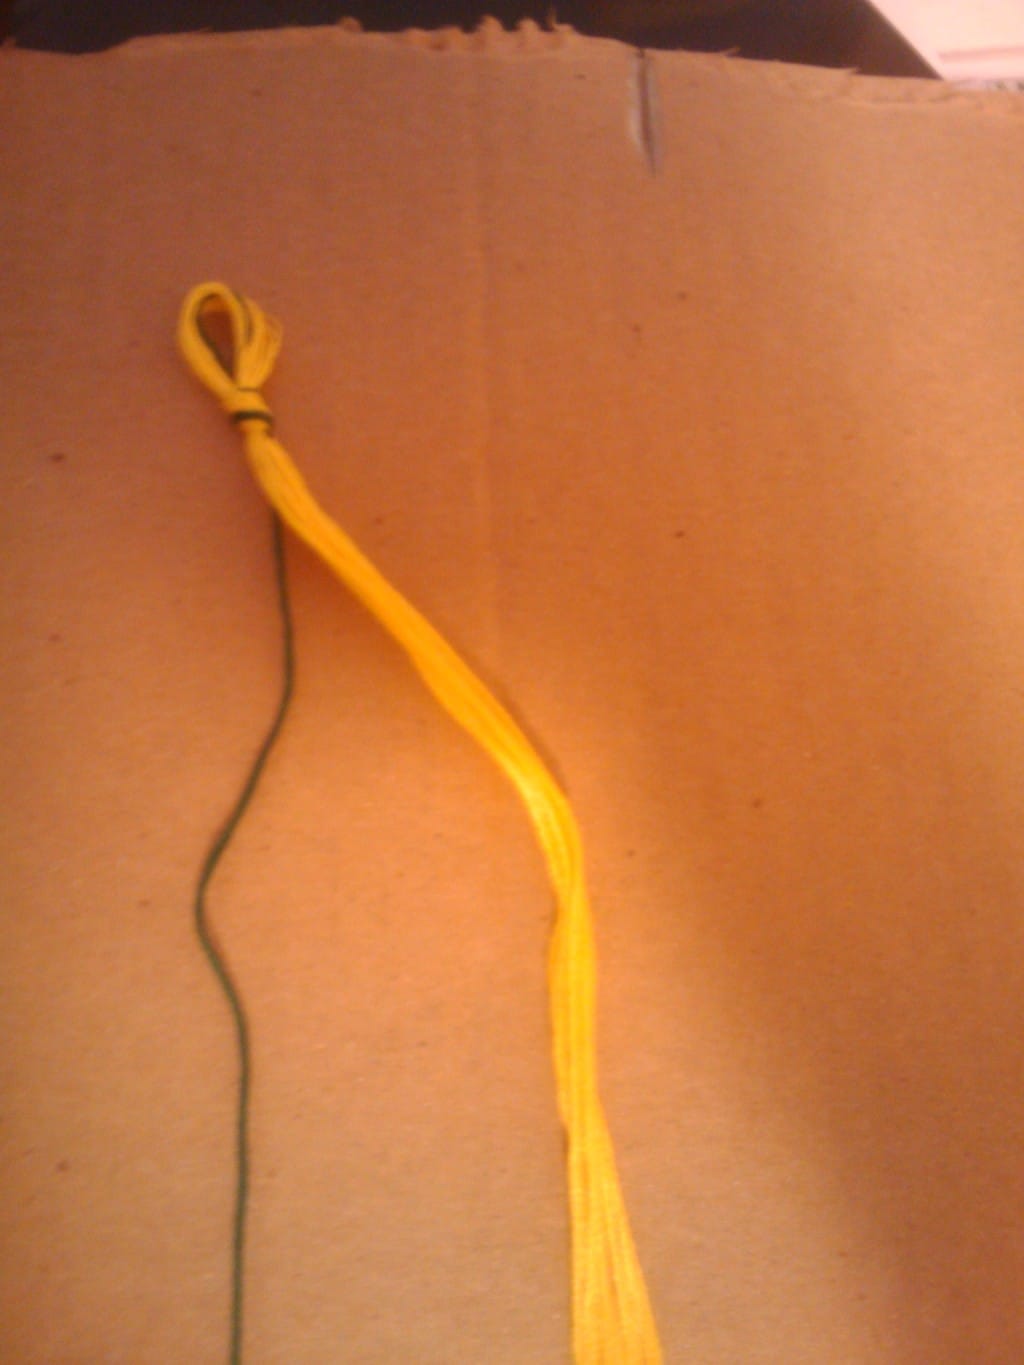
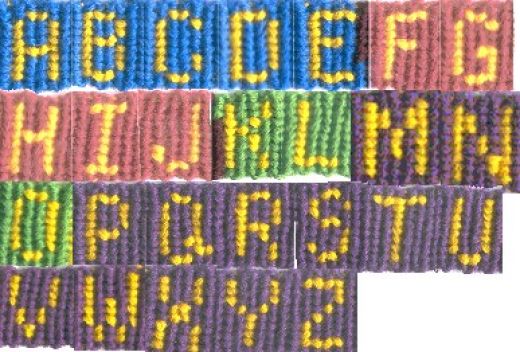
Knotted string bracelets with numbers: To do this, you will need to collect strings, embroidery floss, scissors, tape and a loom like structure to make the bracelet. The first thing that you have to do is learn to create the loom by simply cutting slits in a cardboard piece. This will help you wrap the strings around these two slits in such a way that the strings don’t get tangled. The next thing you need to do is pick out strings in the colors that you like or as per the theme of what you are creating. Then you will need to cut your strings to the length that you want them to be and cut them accordingly. The embroidery floss will be the one that will create the letters in the bracelet. You will start with 5 strings that you will fold to form ten and tie a knot with the embroidery floss. There are two basic knots that you will need to master to be able to make the bracelets. Another tip that will come in handy is drawing out the alphabets on paper so that you can follow the pattern easily. Once you do this, you will find it easier to make the alphabets.
Embroider the alphabets: Another way to go about creating numbers on the bracelet is to simply weave the bracelet plain and then embroider the numbers on to the bracelet. This would require you to know a few simple and basic stitches that can be used to create the alphabets.

Once you master the art of making string bracelets with letters, you can make many variations of these bracelets by using shiny threads or with the use of beads to add to the pattern. Some things that you need to be kept in mind, is that to tie the knots firmly and not let things go slack. But you will also need to keep in mind is that the knots should not be tied too tightly or else the embroidery floss may become brittle and break off from the bracelet.