 |
| Different Types of ear Piercings |
There are Different Types of ear Piercings. I am in the habit of picking things and making them part of my collections. I have amassed books, pens among other things. But the most expensive part of this habit is the one that is always on my person, yes I am talking about my earrings. In fact I would even go so far as to say that taking all of them off would even make me weigh less! This obsession started after I realized that piercing on the ears need not be limited to the cartilage or the lobe. It is then that I decided to go for more as long as I could bear the pain and the expense.
You may wonder at how many places can be available for piercing on such a tiny surface, but you would actually be surprised at how many there are. I will not only describe most of the places in your ear that you can get pierced, but also the simplest way to take care of them.
Attention is Beneficial
Different Types of Ear Piercings
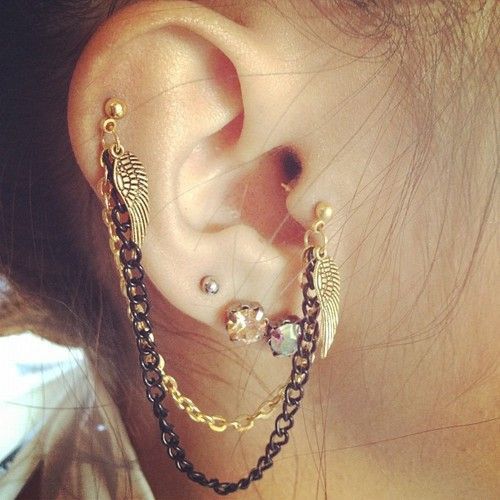
The Industrial: This is simply two piercings that are linked together with a small bar that ends with balls at each end to prevent it from coming off. Normally one hole is made on the ridge of your ear and one in the bottom where cartilage and lobe meet. This gives the appearance of a rod running across the length of the ear. There are many different tweaks to this type of piercing.
The Orbital: Based on the same lines as the industrial piercing, this one uses a ring instead of using a bar with a bell. It looks as though a ring is orbiting your ear. It mirrors the effect that planets create of going around the sun. You can run a ring through piercings you already have or come up with your own twist on this style.
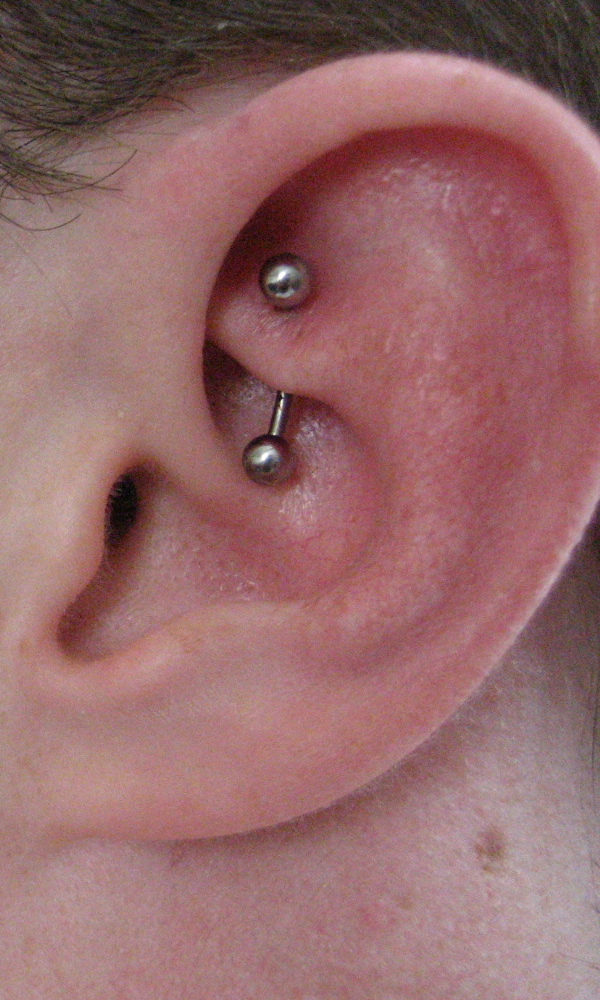
The Rook: This one clearly requires you to grin and bear the pain of getting the piercing done. This one is done in the fold in the top part of the ear shell at the place where the helix starts in the inner part of your ear. You can either put a bar type of jewelry or a ring. If you want to hide it is easy enough to do so.
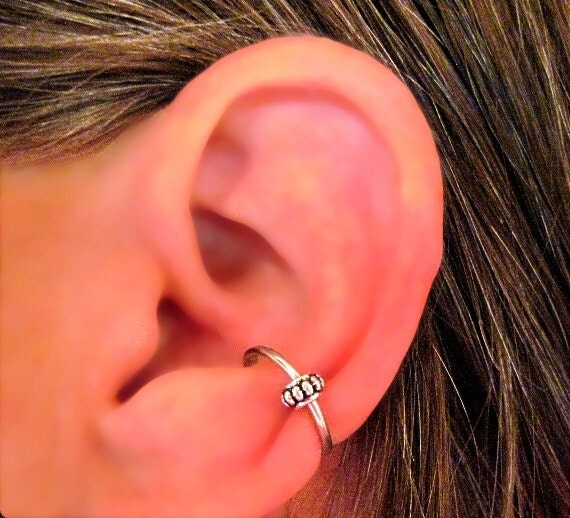
The Conch: This is the bowl shaped portion of your ear in the middle. This portion is usually tough cartilage. Folk like to pierce this portion and wear a large ring or other shaped earring on this one. Mostly it is one hole with one piece of jewelry running through it. It is one of the easiest to clean and maintain.
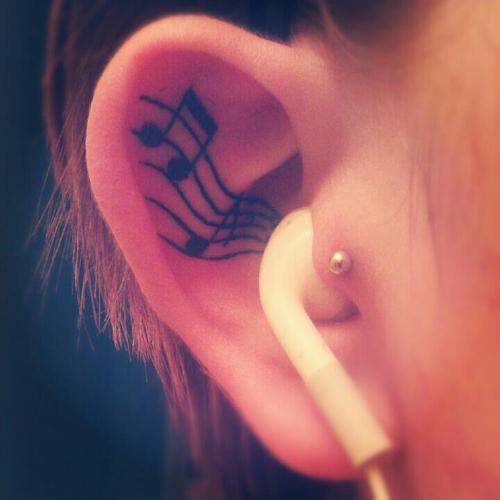
The Tragus: This is the really small flap of skin that will slightly jut over the hole leading to the inner passage of the ear. Since this part is pretty delicate, some piercers may even refuse to attempt a piercing in this area. But then again the piercing is also very small and it is also claimed by some people as a cure for migraine when done on both ears. If you are going for a tragus, you need to keep those earphones away for a while as this can result in infection and irritation.
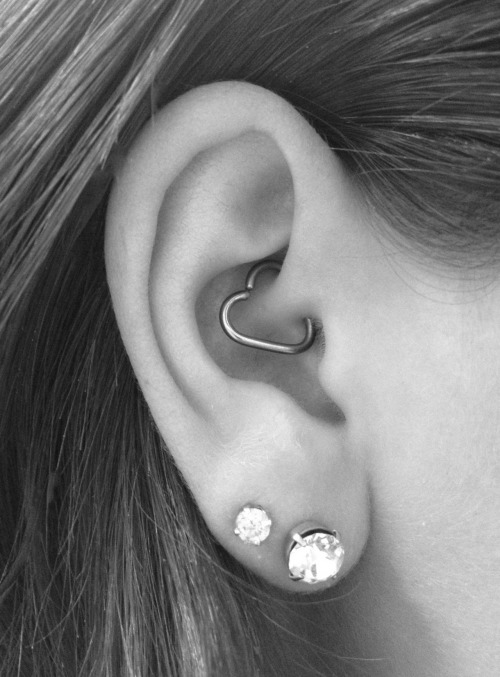
The Daith: The daith is just beneath the rook, this is the place where the helix of the ear links with the conch shaped portion of the ear. Yet another very small piercing, usually a stud or ring is used. Actually for maximum visibility your daith area needs to be a bit on the larger or prominent side, otherwise it may not even be visible.
I am just letting you have a glimpse of the varieties of ear piercings that are being done. You could try and come up with more and better areas that can be pierced and also some variations in the jewelry that you can adorn it with. Make it interesting with tiny studs and chains; actually you can come up with some pretty interesting new looks only if you let your imagination take over.
Once you are through with the process of piercing your ear, then it is time for the post-piercing care. Some may swear by expensive products that have been specifically developed products or some may be careless enough to use some solutions that people have given them. I am giving you my own version of a mixture that I use and can say has never let me down till date.
Ear Piercing Aftercare Tips
First of all you require a clean spray can or bottle for this post-piercing mixture. All you need to do is fill the spray container with tepid water and add a couple of pinches of sea salt, shake it and there you have it! To clean you can spray the mix on the part you want to clean or soak a Cotton bud to reach the parts that are difficult to reach. You also need to stock up on good quality antibacterial soap that does not have strong smells added, to wash and clean the area. Anything strong like spray or shampoo on the piercing can be quite irritating.
Keep the after-piercing care simple by using mild antiseptic soap and the sea salt solution. This will also prevent keloids or infections from occurring. Take care not to use table salt as it will cause bleeding. Try not to touch or move the piercing too soon and take care not to tamper with the scab that forms. This will delay the healing process. Just use the sea salt solution and take good care of hygiene. Use new or at least sterilized pillow covers when you get your ears pierced, so that infections can be avoided. Most importantly be very careful when you comb your hair; a piercing raked by the teeth of the comb can be quite painful. Now just relax and savor your brand-new ear piercing.


