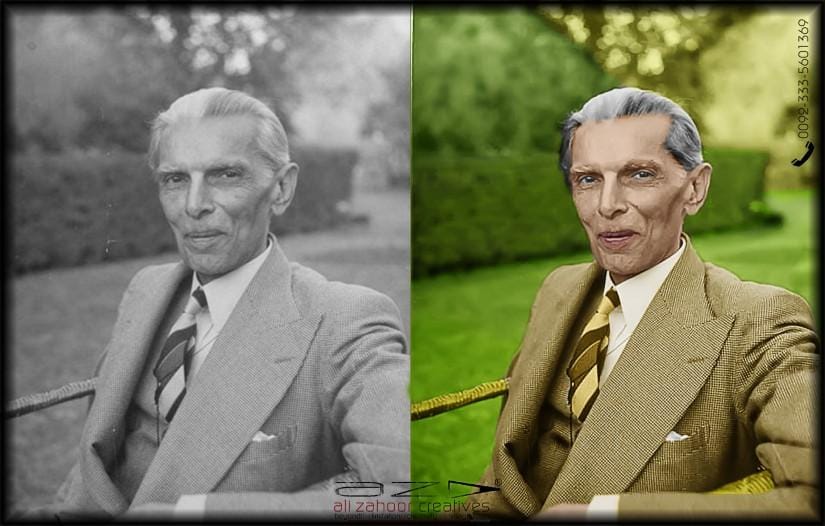
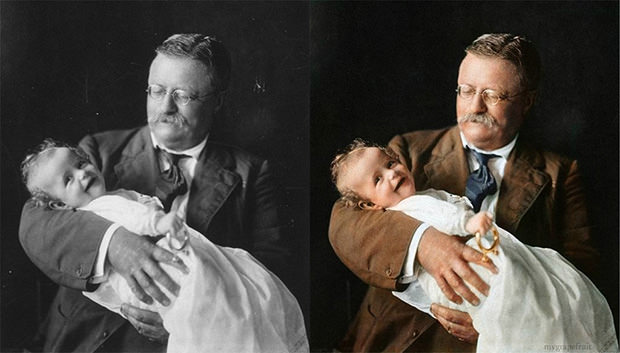
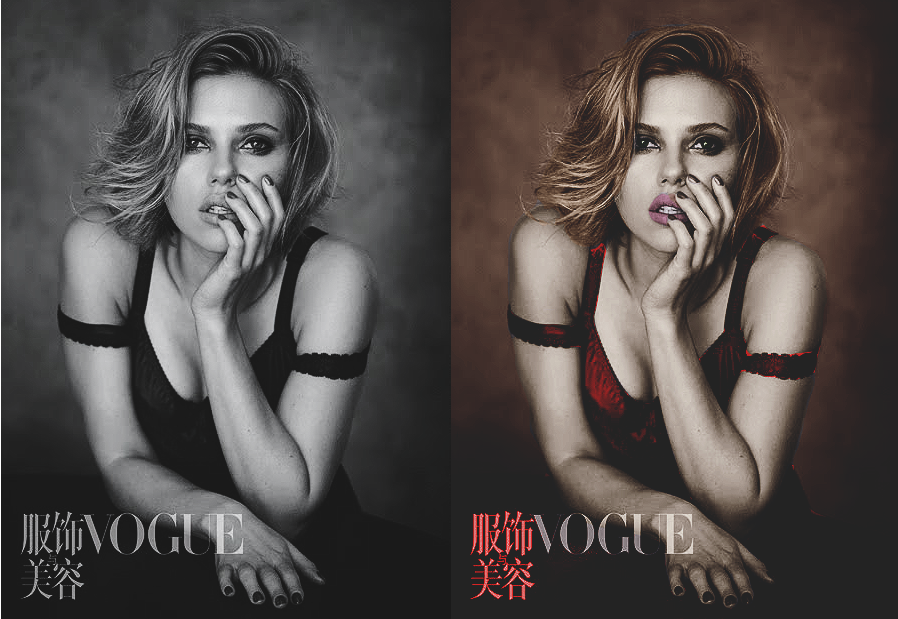
If you have old black and white photos lying around then you can colorize them with the help of digital photo editing software like GIMP. GIMP is a free editing program that can be downloaded. You can use this to add color to monochrome photos.
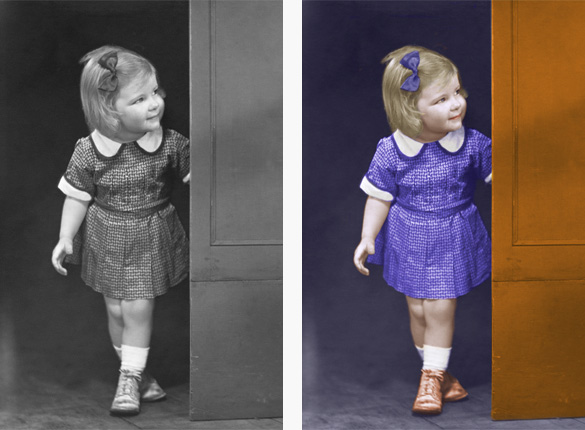
This is done by making a layer of each hue that is coated on the photo and by making use of a layer mask for application of color with a brush. The process and steps for this are given below. DO make sure that the photo that you use has enough sharpness and details to ensure good results. Some of these fabulous examples of black and white photographs can probably inspire you.
Step 1: Start by selecting photo and converting to RGB mode.
Open file and open the image. Then go to IMAGE and select mode and change to RGB. Now examine the photo to see what colors are required as this will determine the layers that will be required.
Then go to WINDOWS and click on DOCKABLE DIALOGS. Select the LAYERS option to get the layers window open. Add layer of each hue.
Step 2: Start creating the layers of color
In the window with layers modify the mode to MULTIPLY from NORMAL. Now point and click on the black and white color swatch within the box and this will show you a color palette from which you need to pick a color for the 1st layer. Then move to the layers window to click on ADD NEW LAYER. Pick the option to fill layer and color in the foreground. The whole image will be covered by the color layer selected. Then select a new color and go through the same procedure. Keep adding color layers till all the required colors have been added.
Step 3: Layer mask addition
Just press right click on every layer and opt for ADD LAYER MASK. Opt for filling up with black/transparency for every layer mask from the drop-down menu which will make a black square come up next to every layer.

Step 4: Utilize brush for each color to be painted.
Make sure all layers are visible and then reset the color palette to original. When you work with layer masks, the white will make the color be seen and black will eliminate it. Click on the first layer mask and choose the PAINTBRUSH from the toolbox while setting the opacity to about 30%.You will find this setting at the lower part of the toolbox.
Choose white as color and make the paintbrush size quite large in circumference. Press the mouse button and paint on the area of the photo taking care not to release the mouse button, start painting again to create uneven color.
Step 5: Remove areas that have color that is not needed
When you have color outside the lines, then choose black and set opacity to 100% and use paintbrush to remove the color very painstakingly.

Step 6 : Go through the same routine for every layer of color
Once you are done with the first hue then go on and select the next one. Go through the entire process of white for painting and black for erasing. Do this till all colors that you wanted are added.

Step 7: Complete the photograph and save it
Using the heal tool you can soften the edges where you find any harsh lines. You can click on a area nearby and then click control. Then use heal tool and click it around the harsh edges.
Step 8: Go to the image and press FLATTEN IMAGE. This will result in merging all the various layers together but take care to do it only when the colorization process is completely over. Select SAVE from the File menu to save it in a name that you can identify later.
As you follow this tutorial, you will find that some of what applies to Dos and Don’ts in quality photography applies here too.