- 1.8Kshares
- Facebook0
- Twitter0
- Pinterest1.8K
- StumbleUpon0
- Tumblr
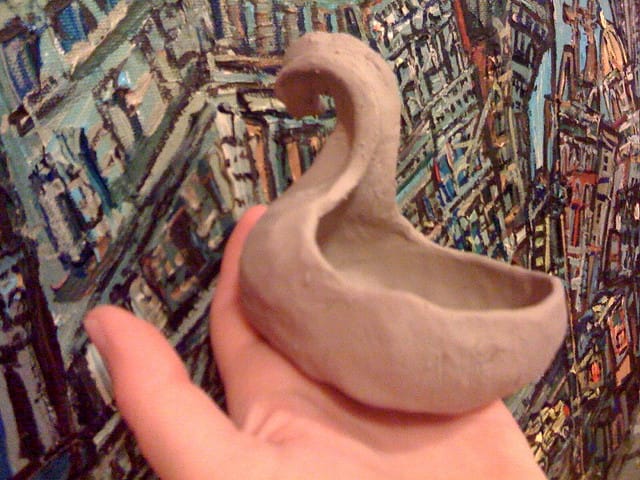
Having kids and planning activities is something that does not come easy. Ask any parent and they will tell you. Come up with something easy and the children will find it too boring and come up with something that is difficult and you will end up doing it yourself. Here is a simple and really fun project that kids will love – Making pinch pots.

www.brighthubeducation.com
They are quite easy to make and also do not take more than 7 days to dry out depending on the area you are located in. But one thing you should keep in mind – they are quite brittle and need to be carted around carefully as they tend to break into smithereens if dropped since they are not dried in the kiln. But even with this shortcoming they are immense fun to do and come in handy at home. They will occupy a place of pride and offer you a place to park your odds and ends in. Imagine having a place for putting pins, clips and all those itty bitty things that are so important.
www.ceramicartspace.com

www.jhpottery.com
You will need the following things:
- Some newspaper to spread around
- Clothing that you don’t mind if it gets messy
- A tiny bowl filled with water
- Pounded clay to be given out to the kids. Take care to give each kid a lump that is about the size of an adult’s fist
- Spoons and popsicle sticks that can be used to poke at the clay, dig it out and make designs on the pots with
- An area that is designated for drying out the pots once they are done.
teach.beaverton.k12.or.us
How to get started on the Clay Pinch pots
- The first thing you do is cover the table you are going to work on with the newspapers.
- The next thing is to get into the clothes that you have kept for getting messy in
- Ask the students to get busy pounding and softening the clay to make it pliable.
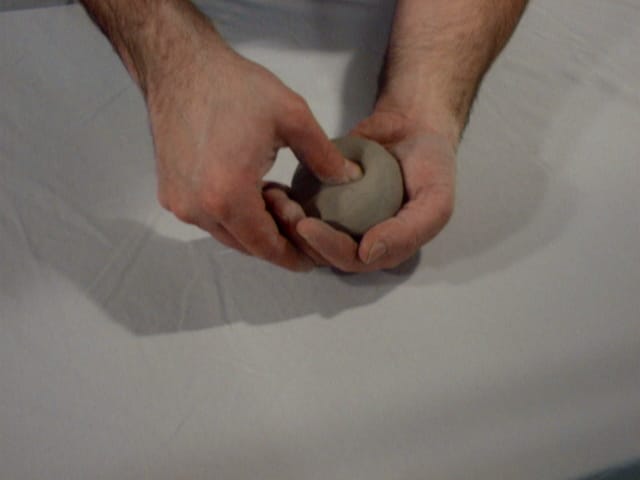
- Roll clay into a ball with the help of hands and hard table to ensure that the ball has no crack on it.
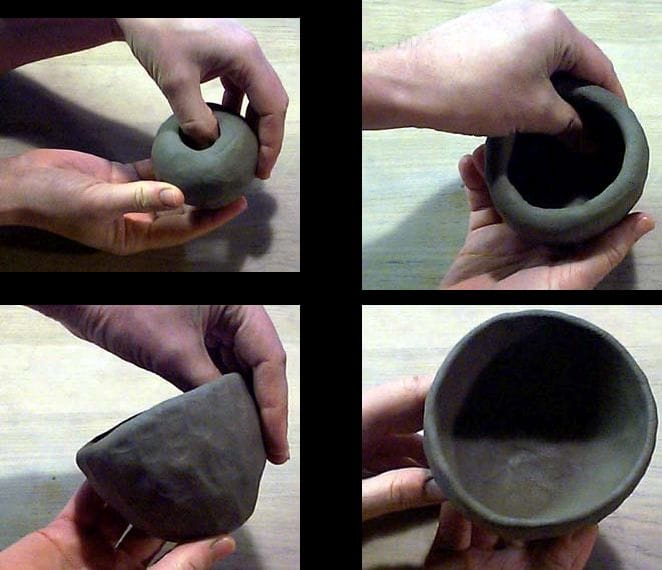
- To create the pot, use your thumb to push in and this will cause a dent to form in the clay that will help you make the pot
- You should ensure that there is half an inch of clay to make the walls of the pot.
- Keep smoothing the surface of the pot as you work at it. Work at making the top edge flat. You can keep on dipping your fingers into the water in the bowl and use this moisture to smooth down the edges
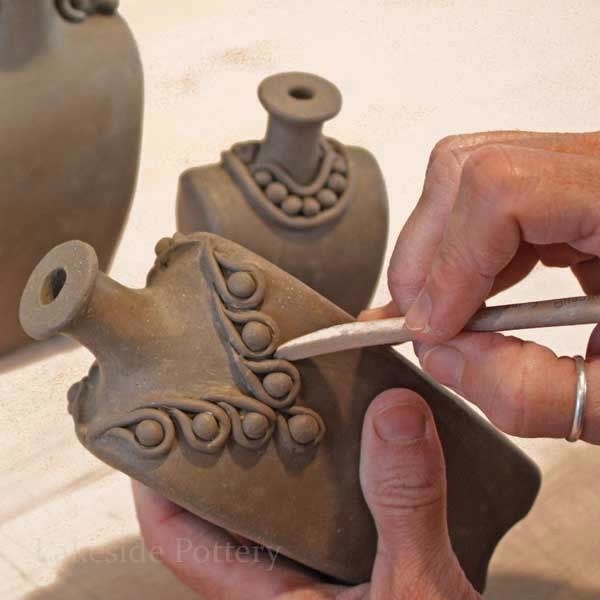
- Use the sticks and spoons to make the designs that you want to on the outside portion of the pot. Do not press too hard, do things firmly but with care.
- Allow the pot to dry completely
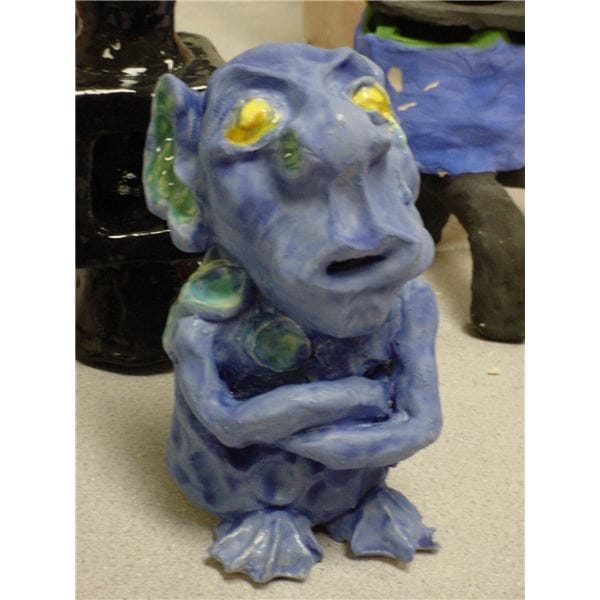
- Once the pot is dried out fully, you can cover it with colorful acrylic paint in the color of your choice.
- The one thing that you should remember while using water to smooth out the pot is not too use too much.
www.brighthubeducation.com
This is something that kids in school will love to take up as a project. It is a little messy and involves working with their hands. At the end of it they will have something cute to take back home as a memento. Normally kids would love playing with clay and since this offers them a creative outlet, it makes it even more appealing.
www.flickr.com
floraceramics.com
floraceramics.com
Reply